
Materials:
- Cardstock or heavy paper
- Ruler or measuring tape
- Pencil
- Scissors
- Glue or tape
- Printer (optional)
- Decorations of your choice (e.g., ribbons, lace, stickers)
Instructions:
Step 1: Determine the Size and Shape
- Decide on the size of your invitations. Standard sizes include A7 (5 x 7 inches), A6 (4.5 x 6.25 inches), and A5 (5.8 x 8.3 inches).
- Choose the shape of your invitations. Rectangular, square, or circular shapes are popular options.
Step 2: Design the Layout
- Use a computer program like Canva or Microsoft Word to design the layout of your invitations.
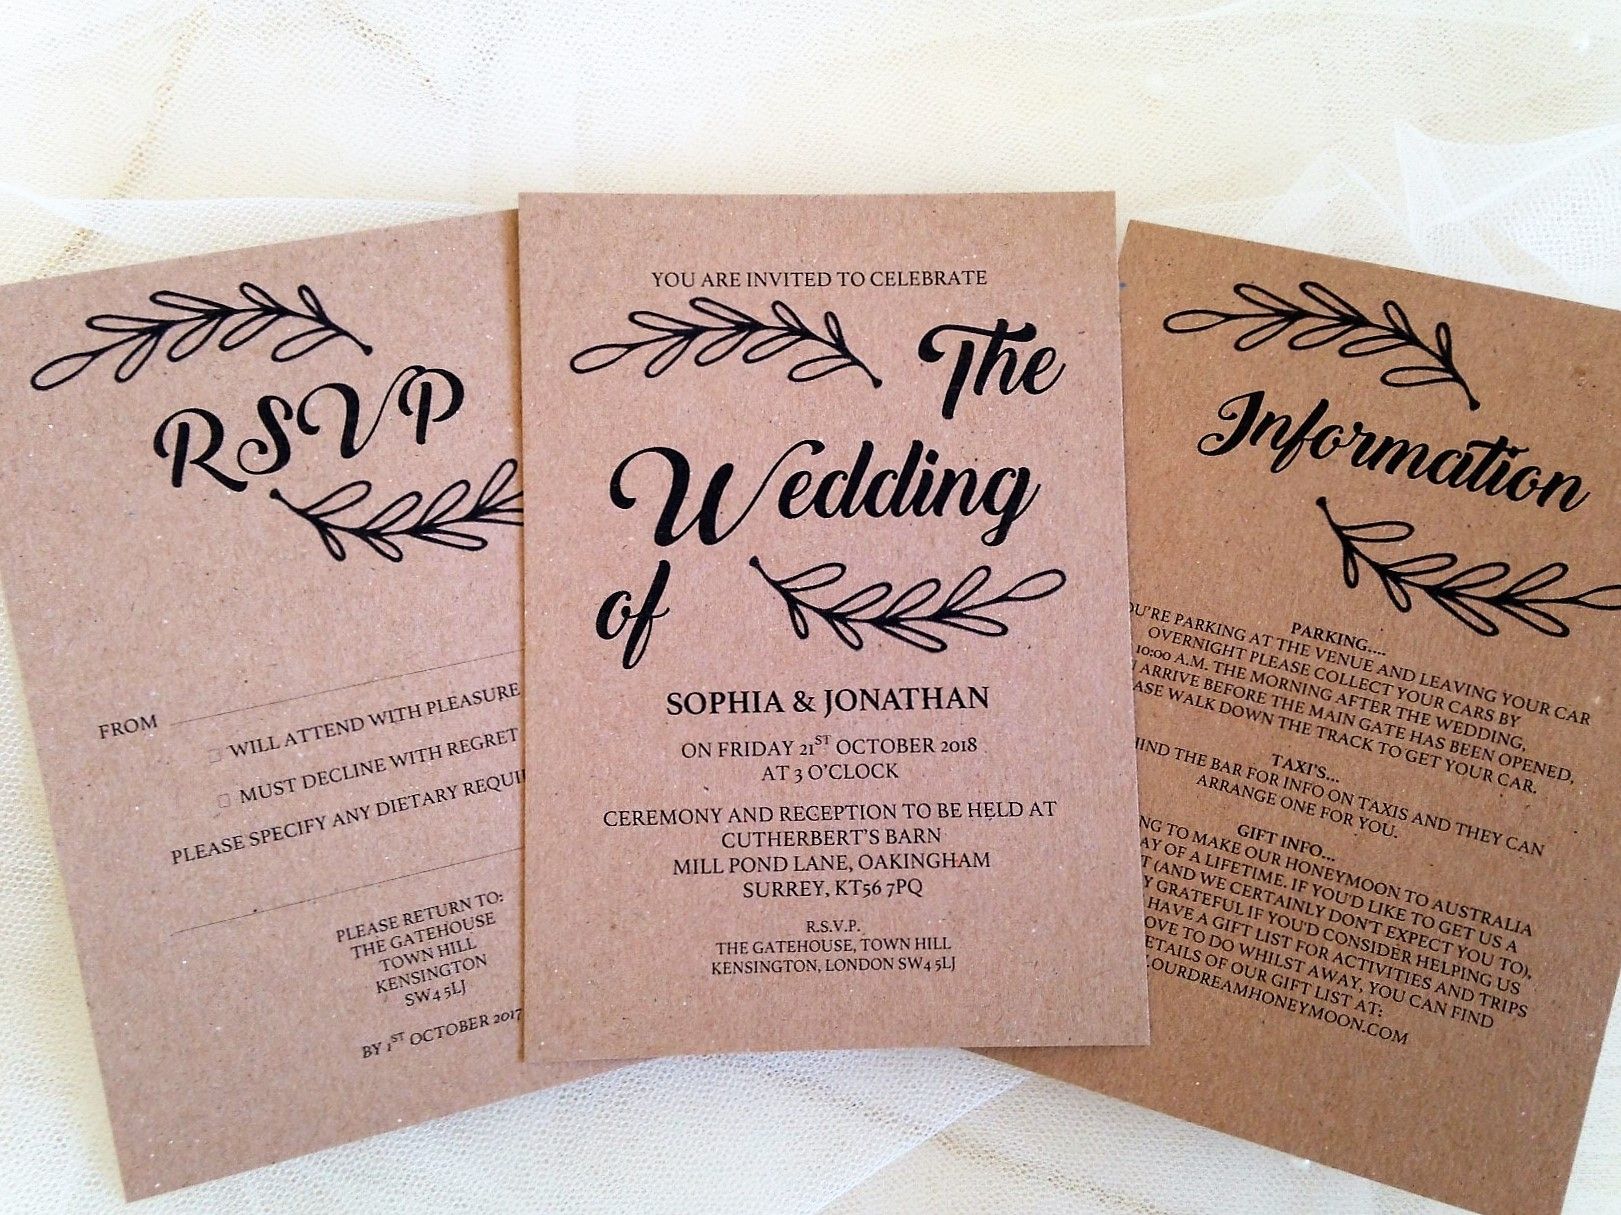
- Include the following essential information:
- Names of the couple
- Date and time of the ceremony
- Location of the ceremony
- Reception information (if applicable)
- RSVP details
- Consider adding personal touches or decorative elements.
Step 3: Print or Handwrite
- If using a computer program, print the invitations onto cardstock or heavy paper.
- If handwriting the invitations, use a fine-tipped pen and your best penmanship.
Step 4: Cut and Fold
- Use scissors to cut the invitations to the desired size and shape.
- Fold the invitations in half or thirds, depending on the design.
Step 5: Decorate
- Add decorations to enhance the invitations. Consider using ribbons, lace, stickers, or any other decorative elements that complement the theme of your wedding.
Step 6: Assemble
- Glue or tape the decorations onto the invitations.
- If you folded the invitations, secure them with a dab of glue or tape.
Step 7: Send
- Place the invitations in envelopes and mail them to your guests. Be sure to include a stamp!
Tips:
- Order a small batch of invitations as a proof before printing the entire set.
- Proofread the invitations carefully before sending them out.
- Allow ample time for printing, folding, and decorating.
- Don’t be afraid to ask for help from friends or family members.
- Have fun and be creative! Your invitations should reflect your unique style and personality.## [Make Your Own Wedding Invitations]
Executive Summary
With the wedding industry booming, couples are seeking unique and personalized ways to celebrate their special day. Creating your own wedding invitations offers a creative and cost-effective solution, allowing you to customize and tailor every detail to reflect your style and preferences. This article will guide you through every step of the process, empowering you to design and produce stunning invitations that will impress your guests and make your wedding day even more memorable.
Introduction
In the whirlwind of wedding planning, the seemingly simple task of sending out invitations can quickly become overwhelming. However, embracing the opportunity to create your own invitations not only saves you money but also unleashes your creativity. With a bit of planning and attention to detail, you can craft unique and captivating invitations that will serve as a beautiful keepsake for years to come.
FAQs
-
Q: How much time should I allow for the invitation-making process?
- A: Plan to start at least 6-8 weeks before you need to send them out, allowing ample time for design, printing, assembly, and any necessary revisions.
-
Q: What materials do I need?
- A: Essential materials include high-quality paper, envelopes, ink, and any embellishments you desire. Consider using thick, textured paper for a luxurious feel and opt for vibrant inks and eye-catching accents to add a personal touch.
-
Q: Where can I find inspiration for design?
- A: Explore online platforms like Pinterest and Instagram for endless design ideas, browse through wedding magazines, or visit calligraphy workshops to learn beautiful lettering techniques.
Top 5 Subtopics for Creating Your Own Wedding Invitations
Choosing a Design
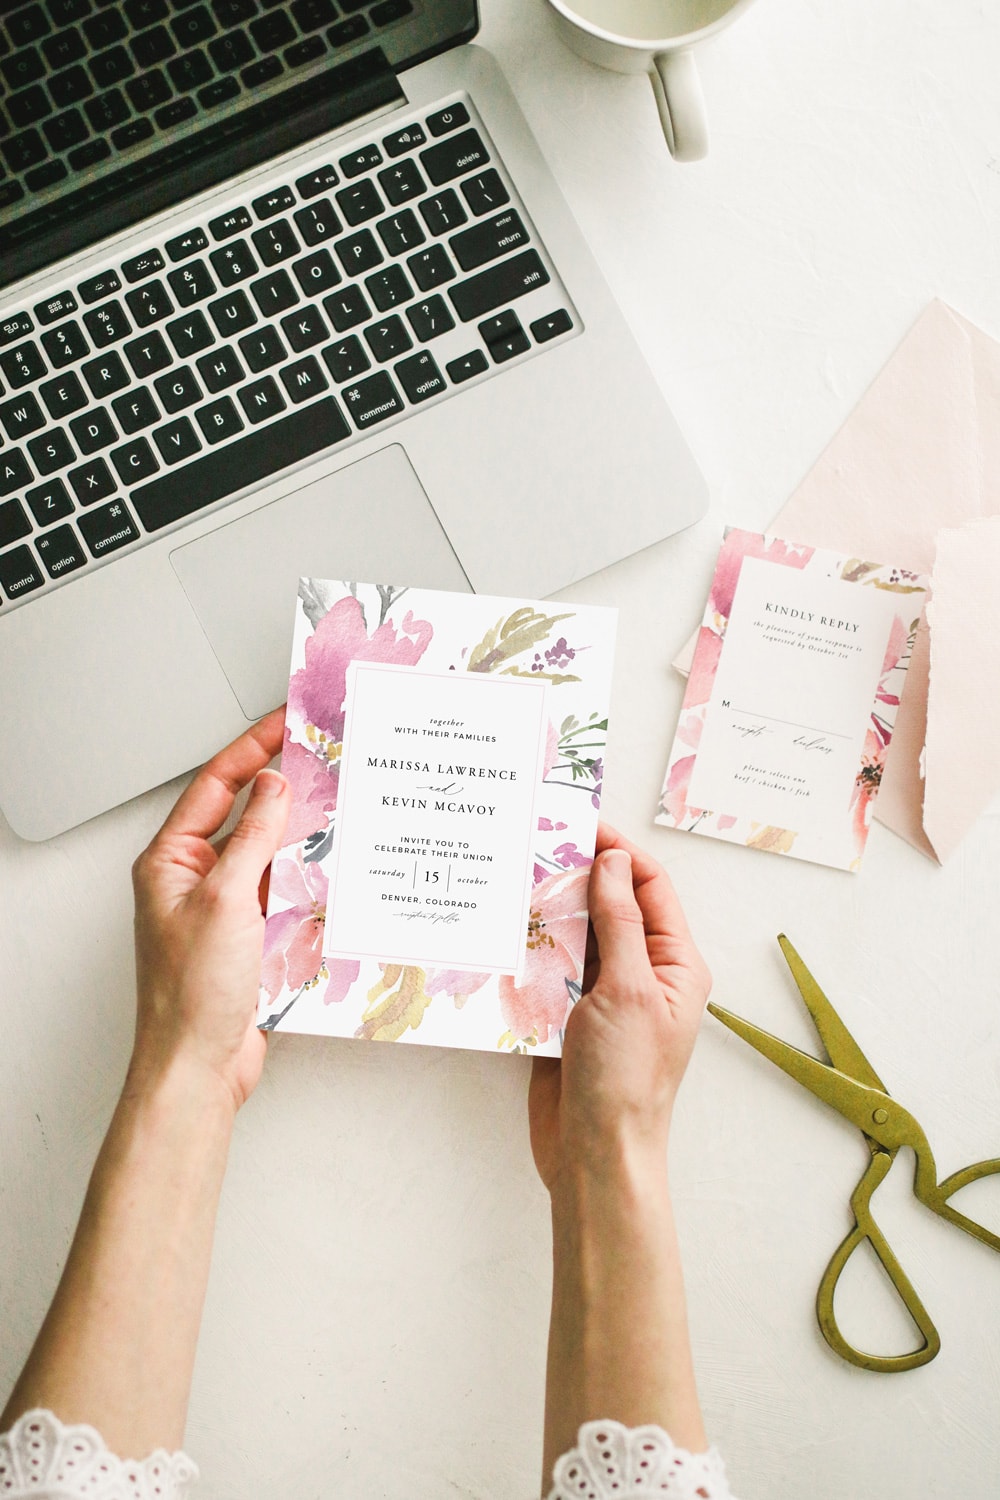
- Consider your wedding theme: Align the invitation design with the overall aesthetic of your wedding, whether it’s rustic, elegant, or modern.
- Personalize with unique details: Incorporate elements that reflect your personalities, such as a favorite quote or a silhouette of your venue.
- Experiment with fonts and colors: Select fonts that convey the desired tone and emotion. Choose colors that complement your theme and evoke the right mood.
- Don’t overcrowd: Keep the design clean and uncluttered. Use negative space effectively to highlight important details and create a sense of visual balance.
Printing and Assembly
- Choose the right printer: Opt for a high-quality printer to ensure crisp and vibrant colors. Consider professional printing services for flawless results.
- Use high-quality paper: Choose thick paper that is durable and elevates the look of your invitations. Opt for paper with a luxurious texture or a unique finish.
- Pay attention to cutting: Use a sharp blade or professional cutting tool to achieve clean and precise edges.
- Assemble carefully: Take your time to carefully assemble the invitations, ensuring that all elements are aligned properly and securely fastened.
Writing Invitation Wording
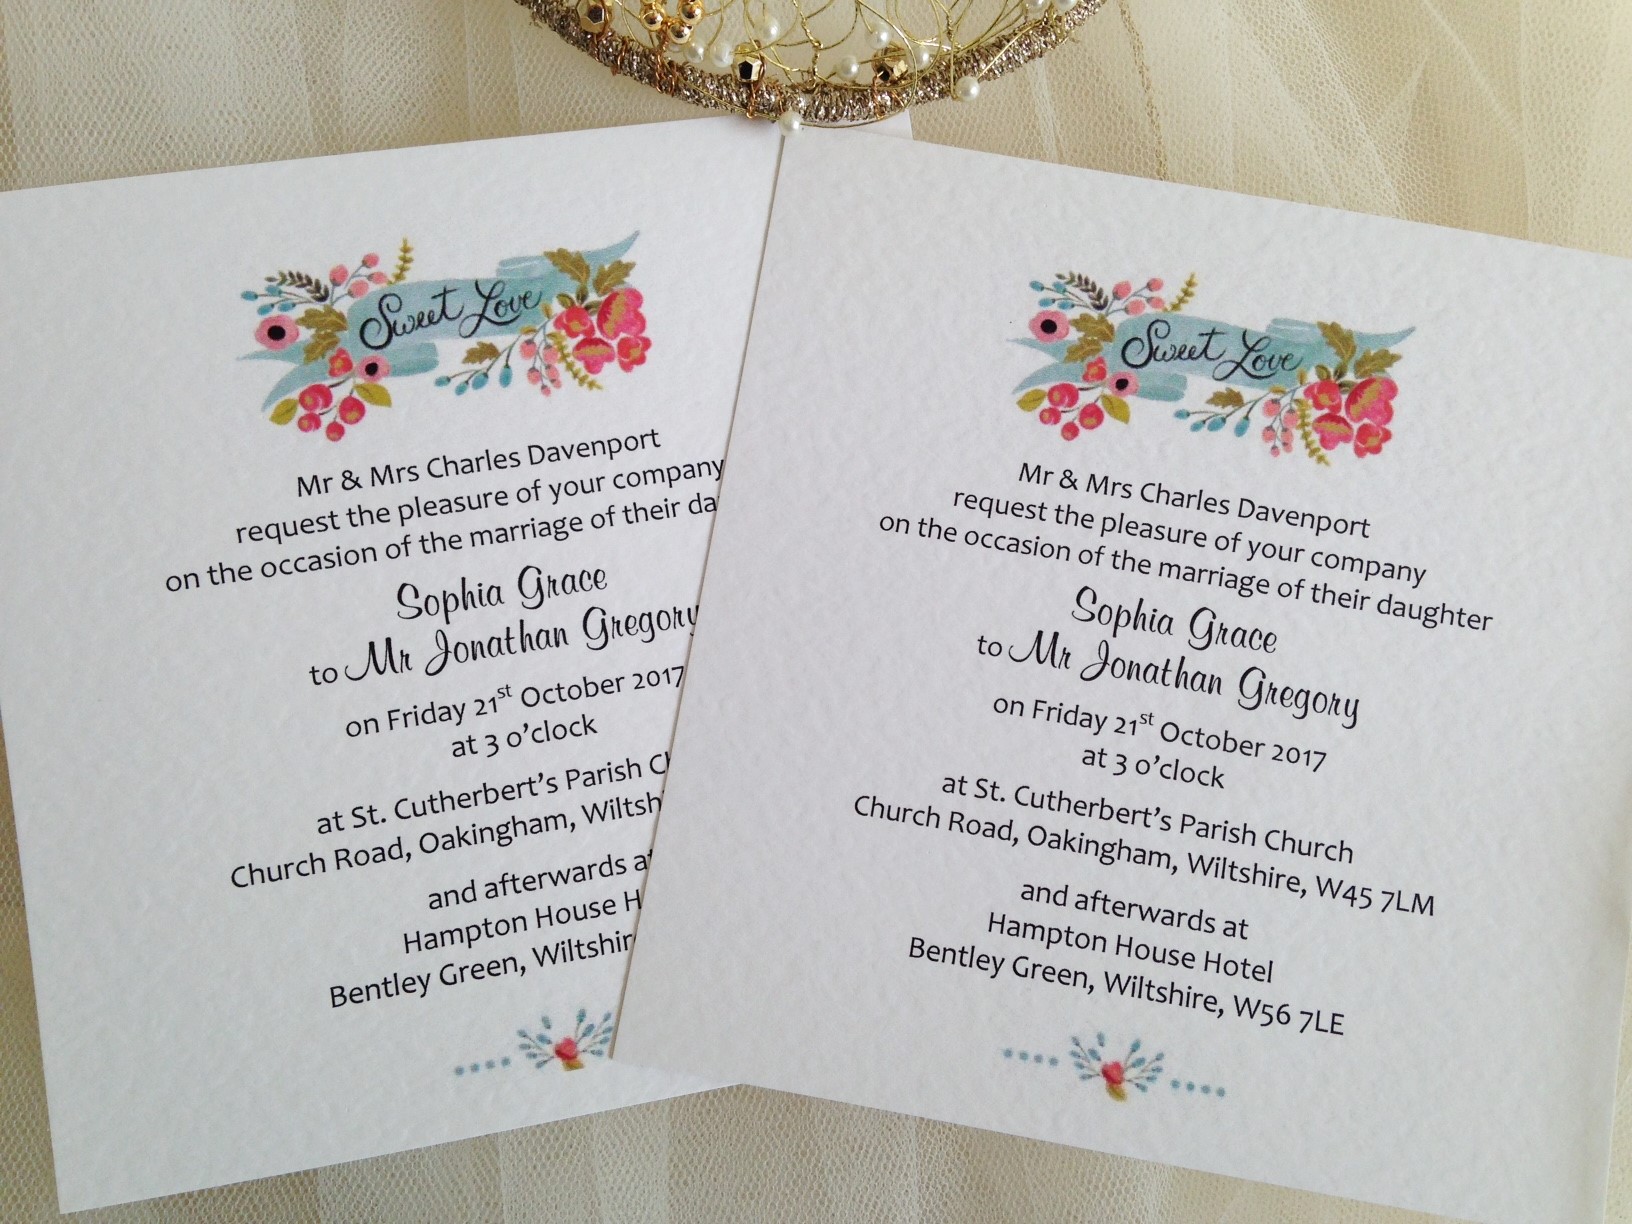
- Start with the basics: Include essential details such as the couple’s names, wedding date, time, venue, and reception information.
- Personalize with a welcome message: Welcome your guests with a warm and inviting message, expressing your excitement for their presence.
- Provide RSVP details: Clearly state the RSVP information, including the deadline, contact person, and any additional details.
- Proofread carefully: Ensure accuracy by proofreading the invitation text multiple times before printing. Ask someone you trust to review it as well.
Embellishments and Details
- Add a personal touch: Consider adding a special touch, such as a wax seal, monogrammed ribbon, or custom-designed envelope liner.
- Use embellishments sparingly: While embellishments can enhance the invitation, avoid overloading it with too many elements.
- Coordinate with your wedding colors: Choose embellishments that complement the color scheme of your wedding, creating a cohesive and visually appealing presentation.
- Consider sustainability: Opt for eco-friendly materials and embellishments, such as recycled paper or reusable ribbons.
Mailing and Postage
- Choose the right envelopes: Select envelopes that are slightly larger than the invitations to allow for easy insertion. Consider using envelopes with a unique design or texture.
- Address envelopes carefully: Address envelopes clearly and legibly. Use calligraphy or decorative lettering to add a personal touch.
- Calculate postage accurately: Weigh the assembled invitations with envelopes to determine the appropriate postage amount.
- Mail early: Allow ample time for your invitations to reach their destinations. Mail them at least 4-6 weeks before the RSVP deadline.
Conclusion
Creating your own wedding invitations is a rewarding experience that allows you to express your creativity and make your wedding day even more special. By following these steps, you can design and produce beautiful and memorable invitations that will set the tone for your celebration. Remember to start planning early, choose the right materials and design, write thoughtful wording, and pay attention to every detail. With a bit of effort and attention to detail, you can create stunning invitations that will be cherished by your guests and serve as a lasting reminder of your special day.
Keyword Tags
- Wedding Invitations
- DIY Invitations
- Invitation Design
- Wedding Stationery
- Invitation Wording


